Your brows will look darker than expected, then patchy, then faded almost to nothing. All three are the healing working correctly, and all three catch people off guard. Here is what each stage looks like and what to do.
The short version: what proper aftercare comes down to
Proper microblading aftercare comes down to four things. Follow the microblading aftercare instructions your artist gave you, exactly, including any aftercare products provided at your appointment. Do not pick anything, however tempting the flaking gets. Keep the treated area out of the sun. And expect the color to change dramatically before it settles.
Everything below is a step by step guide to microblading recovery, expanding those four points. Clients booking permanent eyebrows should know the two week timeline in advance. Anyone three days in with something looking wrong should skip to the matching stage. Everyone who has been microbladed goes through the same sequence.
Dry healing vs wet healing: which healing method are you following?
Check which healing method your artist uses first. There are two, they contradict each other, and the wrong one costs you pigment.
Dry healing means the treated area stays completely dry for the first week to ten days. No water, no product, nothing applied. Wet healing means gentle cleansing during the healing period plus a small amount of the ointment your studio provides, to stop the skin drying out and forming hard scabs.
Both are legitimate and widely used. What matters is following one consistently rather than mixing them. Your skin type and your artist’s method decide which suits you. The instructions from your appointment override anything online, including this page.
Microblading healing timeline: your day by day guide to what happens
The microblading healing stages follow a fairly predictable order. Your exact timing may run a day or two either side of this.
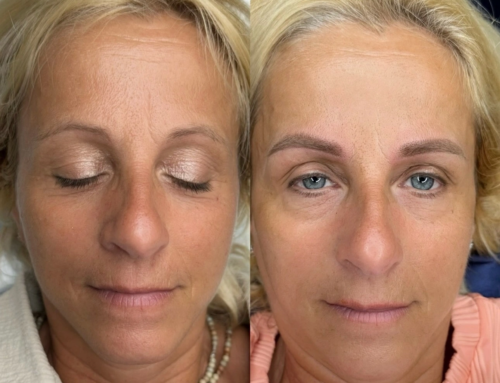
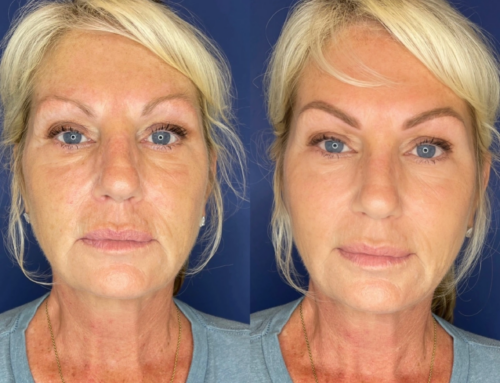
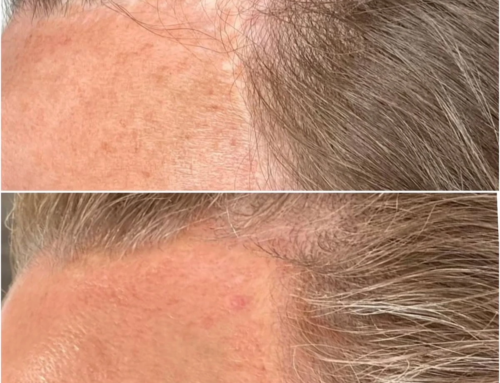
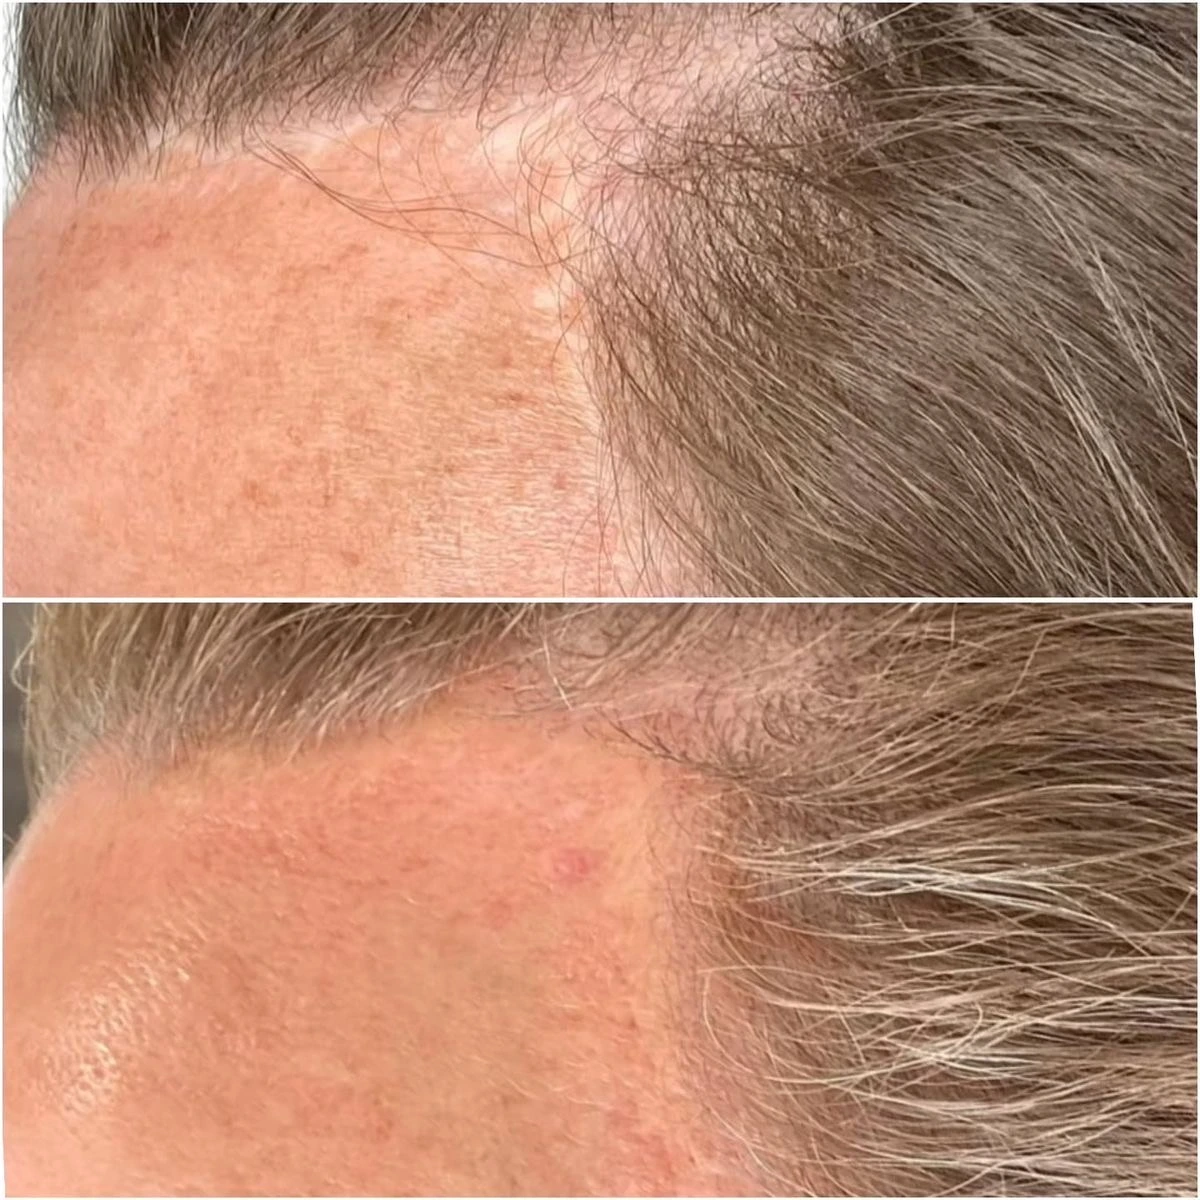
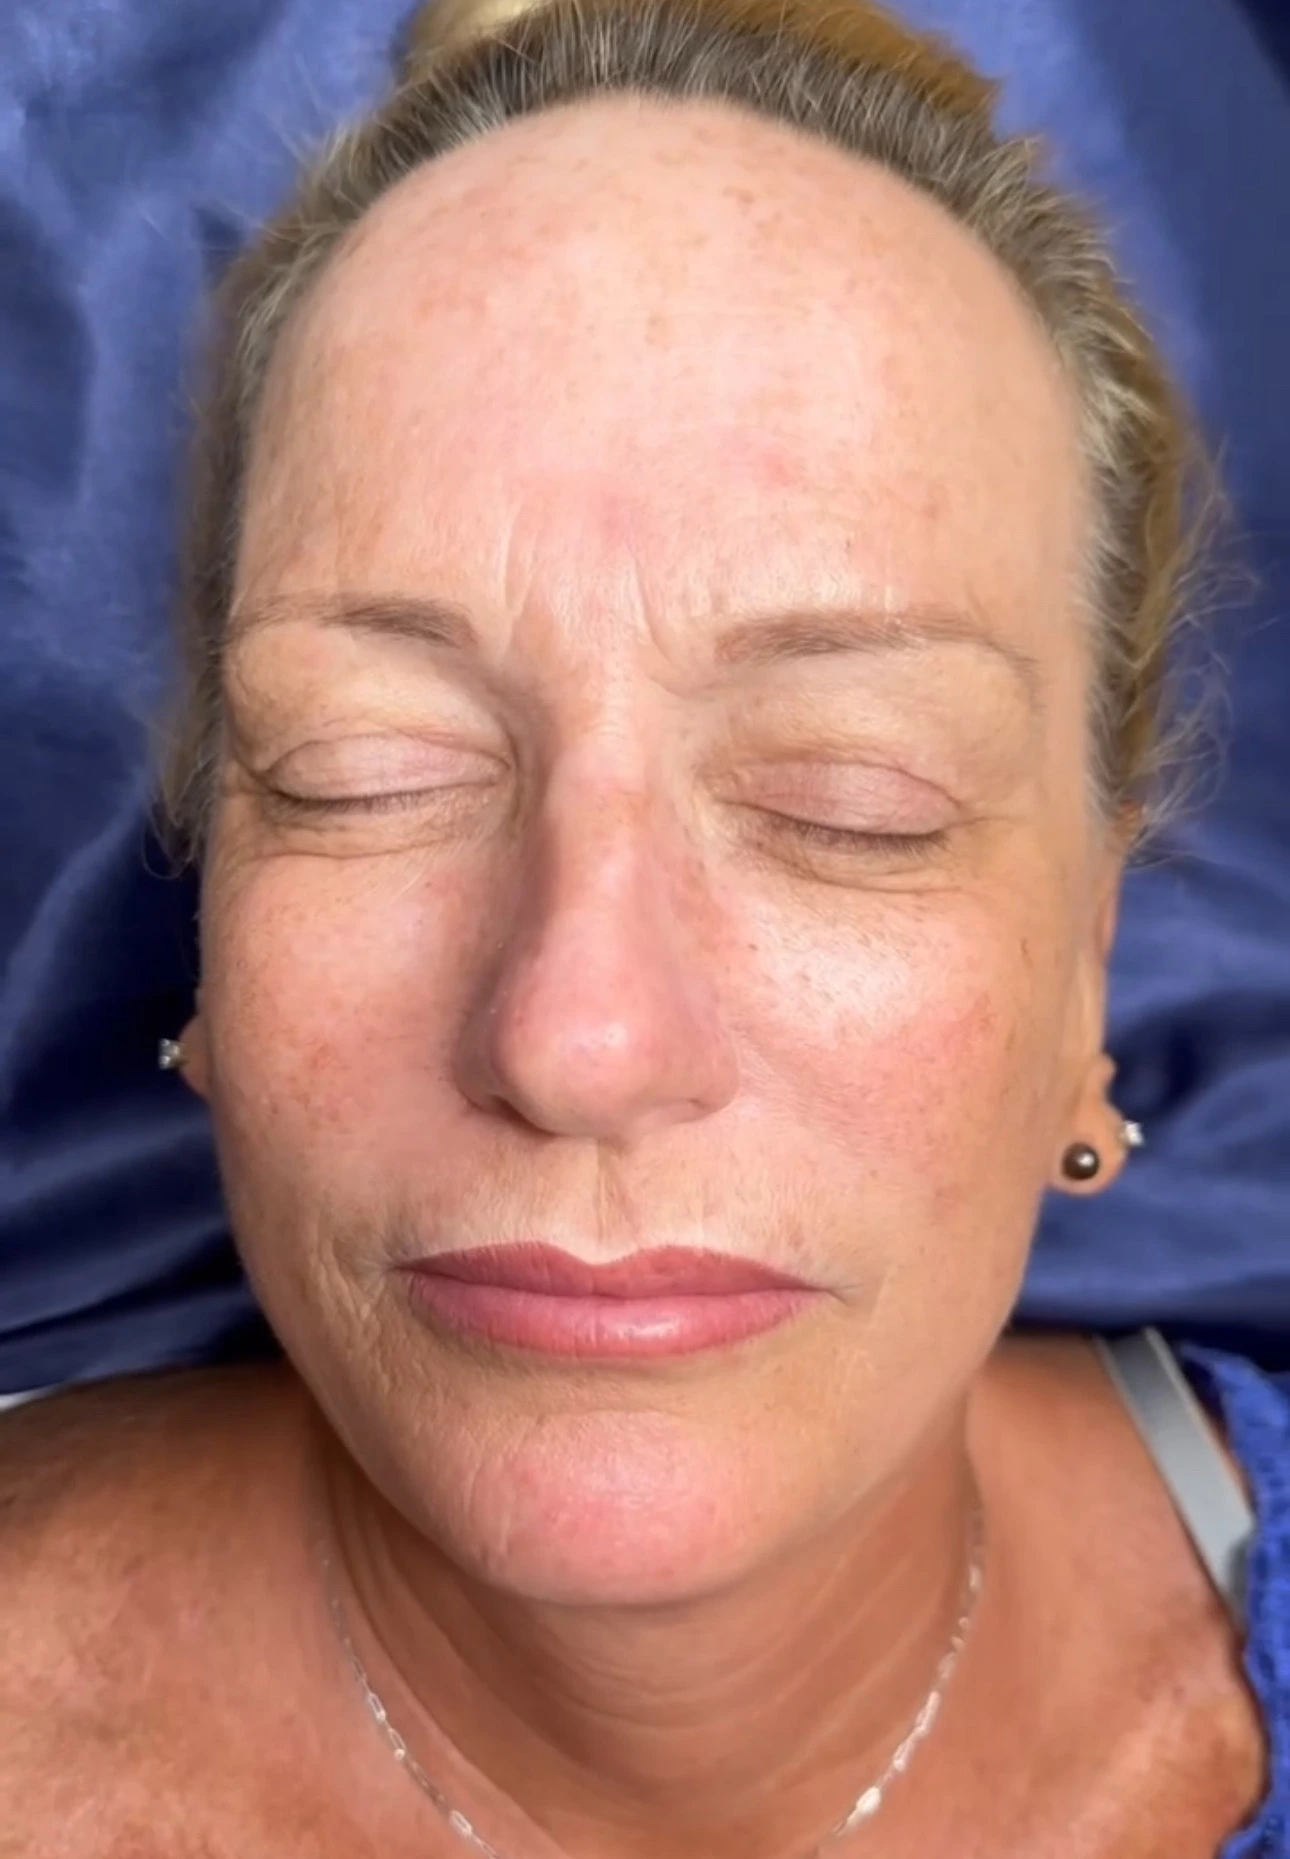
 Alt text as written above. Needs a consented day-by-day client sequence, or an illustrated timeline if no consented images exist.
Days 1 to 2: darker and bolder than expected
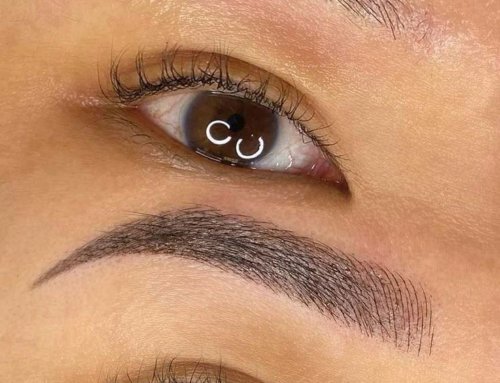
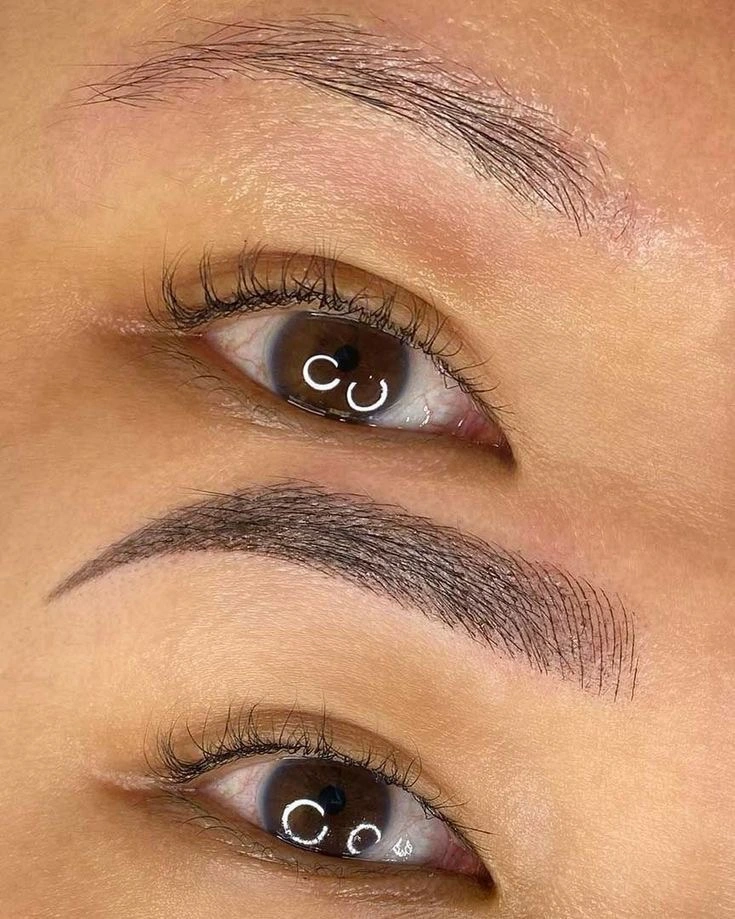
What you will see. Immediately following the microblading procedure, and for the first two days post procedure, bold and noticeably darker than the shape you agreed to. The strokes look thicker. There may be slight redness around them. This is the single most common source of alarm, and it is completely normal.
What to do. Blot gently with clean tissue every few hours. You are blotting lymph fluid, which dries into thick scabs that take pigment with them. Then follow your healing method exactly. Do not touch your eyebrows otherwise, and sleep on your back if you can.
Days 3 to 5: scabbing begins as the skin begins to heal
What you will see. The surface starts to dry and small scabs or flakes form over the strokes. The area often itches. Some flakes will lift and take a little color with them.
What to do. Nothing. Do not scratch, rub or help the flakes along. Let them fall off naturally. Picking a scab early pulls out the pigment underneath, which causes uneven healing and can scar. This is the one mistake that shows in the healed result.
Days 6 to 10: the fade that worries everyone
What you will see. Flaking finishes. The brows look patchy, uneven, and much lighter than you wanted. Some areas may look like the color has gone entirely.
What to do. Wait. This is the second alarm point and the most important paragraph here, so plainly: your brows are not ruined and the color has not failed. Fresh skin has grown over the pigment and is temporarily obscuring it, the way frosted glass does. The pigment is still there.
This is the stage where people book a correction they do not need. Give it another week. The color that returns over days 11 to 14 is much closer to what you keep.
Days 11 to 14: pigment returns as skin healing finishes
What you will see. The pigment reappears gradually as the new skin settles and becomes less opaque. The strokes look softer and more natural than they did in week one.
What to do. You can return to your normal skincare routine around now, though sun protection stays. Keep exfoliants and acids off the eyebrow area, glycolic and retinol especially, since both interfere with healing still finishing underneath.
Weeks 4 to 6: full healing and your microblading results
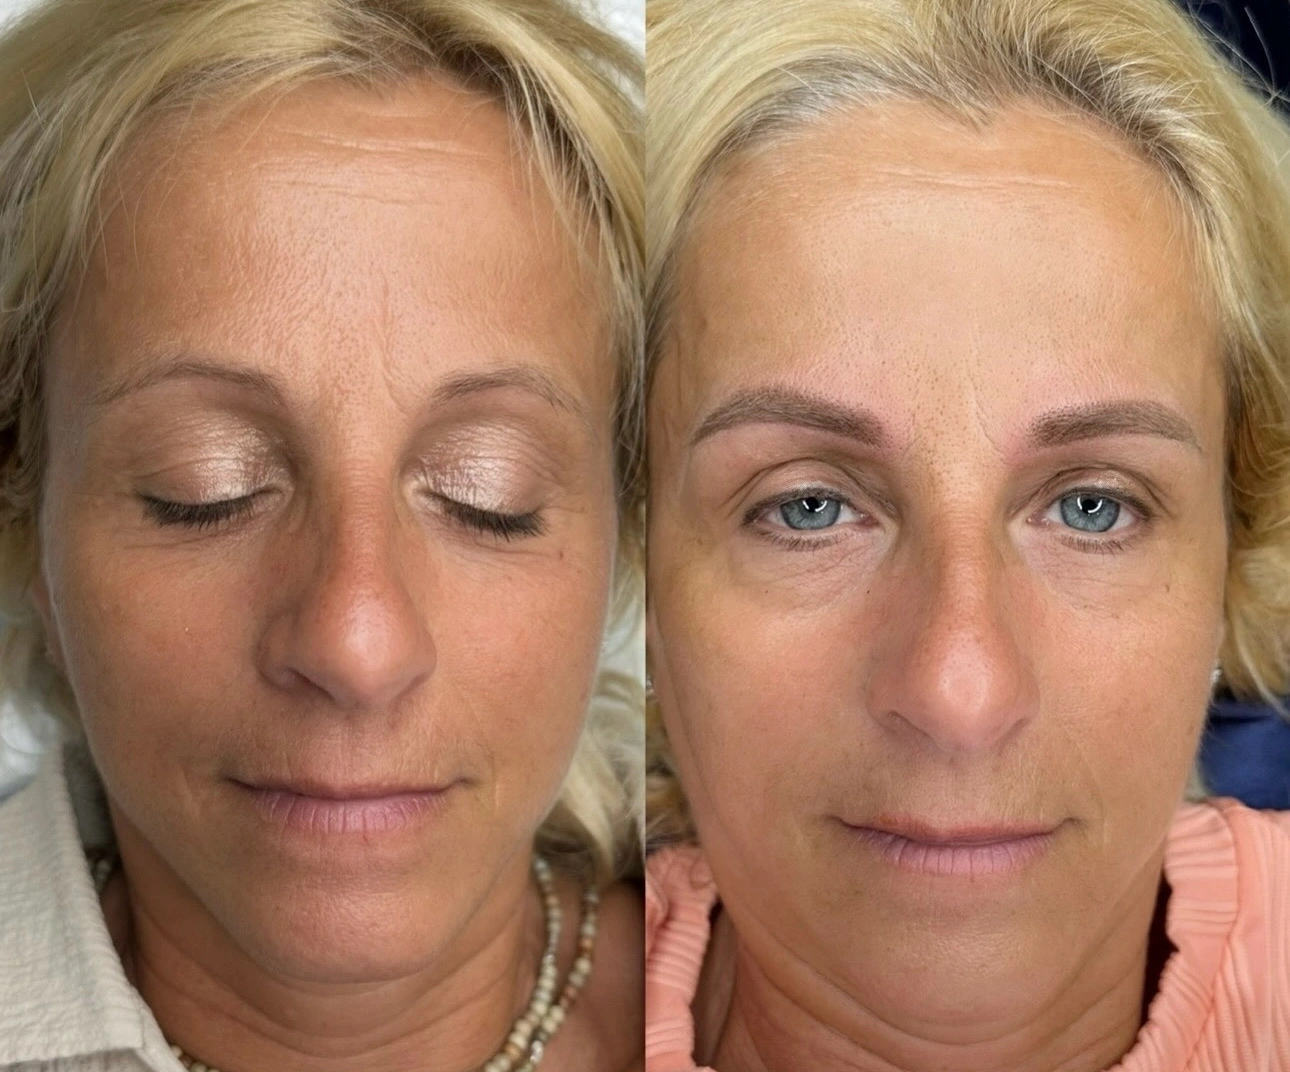
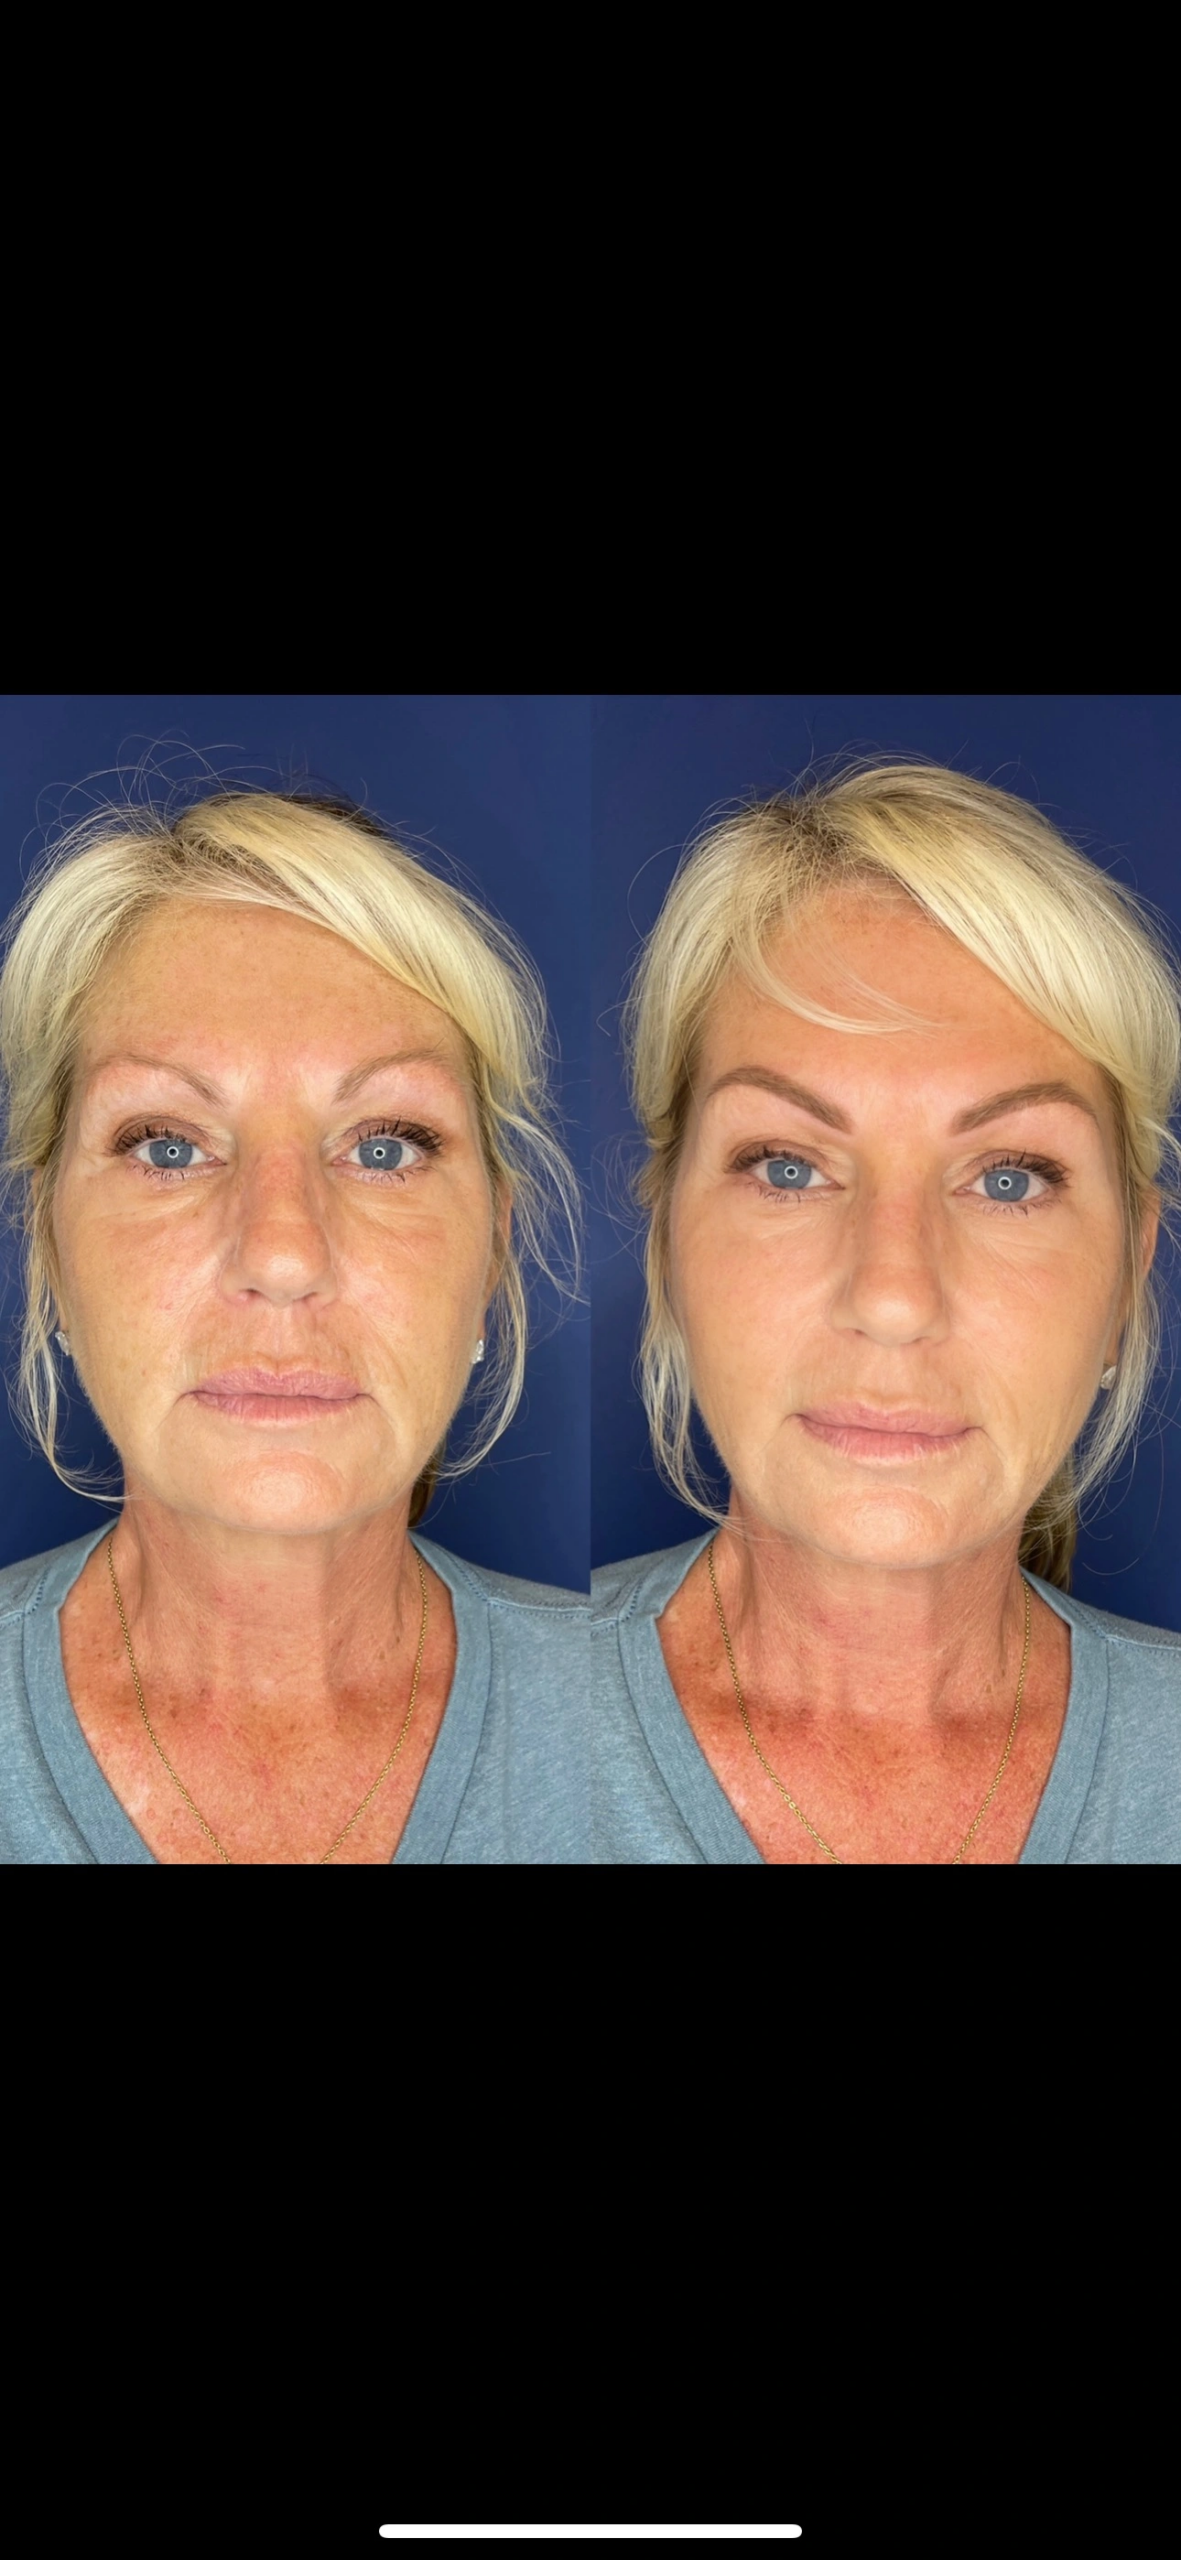
What you will see. The brows reach full healing. The true color and shape become visible. This is the first honest look at your microblading results. It will be softer than day one and more defined than day seven.
What to do. Look at it in daylight and note anything you want adjusted. Bring that to the touch-up.
6 weeks on: the touch-up appointment
What you will see. Whatever the healing left you with, which varies from person to person. Some people keep almost everything. Others lose more than expected.
What to do. Attend. The touch-up fills gaps, refines shape and adjusts color. It is part of the procedure rather than an extra, and skipping it means a partial result.
Bring anything you noticed during weeks 4 to 6. A lighter tail, a shape sitting high on one side, color softer than you wanted: this is where it gets fixed.
What to avoid: things that delay the healing process
The first ten days are about keeping the area dry and undisturbed.
Water is the main one, and it delays the healing process faster than anything else here. No pools, no ocean, no long hot showers over your face, no steam rooms or saunas. Shower with your back to the water and wash around the brow area.
Sweat works the same way. Skip intense workouts, hot yoga and anything that leaves you dripping for the first week to ten days.
Sun is the other big one. Sun exposure on healing skin affects both the healing and the pigment. Hats and shade for now, not sunscreen, since nothing goes on broken skin until it closes. Once healed, SPF 30 or higher over the eyebrow area daily protects them.
Then the things that touch the brows directly. No makeup over or near the brow area, no exfoliants or retinol anywhere close, no sleeping face down. And no picking, which is the rule that matters most.
What is normal, and what is not
Healing of the skin follows a predictable pattern. Normal, and not worth a phone call: darkening in the first days, scabbing, flaking, itching, uneven fading, and looking too light around day seven. All of it resolves on its own.
Worth contacting the studio or your doctor: redness spreading outward rather than settling, swelling increasing after day two, heat at the site, discharge, or a fever. These are signs of infection rather than healing, and they need someone to look in person rather than advice from a webpage. [CITATION NEEDED, see notes]
Follow aftercare instructions carefully and most of this takes care of itself. Call your microblading technician whenever you are unsure whether you are healing correctly. Nobody at the studio or your technician minds the question, and it is a far better use of a phone call than a week of worrying.
Why pigment appears to fade before it settles
One mechanism explains both the day one darkness and the day seven fade, and understanding it makes the rest of the microblading healing process much less worrying.
Microblading is semi-permanent makeup, and the reason sits in how the skin heals. Some pigment sits in the outermost layer and some deeper. The surface pigment makes the brows look bold at first, and it sheds with that layer during the flaking phase. The deeper pigment stays.
So the drop in color around day seven is not pigment lost from the result. It is the temporary layer leaving, with new skin sitting over what remains until it clears enough to see through.
Eyebrow aftercare and your skin type
How much pigment you keep depends on your skin type more than anything else, and the best results come from matching your care routine to it. Oily skin sheds pigment faster during healing, so the healed result comes out lighter and softer and the day seven fade looks more dramatic. Dry skin holds pigment better and heals crisper.
The aftercare does not change. The expectation does, and so does how much the touch-up will do. Oily skin plus a preference for sharp definition makes microblading vs microshading worth a conversation, since shading holds better there.
Frequently asked questions
When can I wash my face normally?
Around day ten to fourteen, once flaking has finished and the skin feels smooth. Until then wash around the brow area rather than over it.
When can I shower, and what about getting the brows wet?
Shower normally from the start, but keep the brows out of the spray. Face away from the water, keep showers short, and pat dry if the area gets damp.
When can I exercise again?
Light movement is fine straight away. Avoid anything that makes you sweat heavily for seven to ten days, since sweat on healing skin costs you pigment.
When can I wear makeup near my brows?
Wait until flaking has completely finished, usually day ten to fourteen. Nothing goes over or immediately around the brows before that.
What happens if I pick a scab or touch your eyebrows too soon?
Do not force anything else off and leave the area alone. One early scab is unlikely to ruin the result, and the touch-up exists to correct patchy spots. Mention it at your appointment.
Why do my brows look so light at day seven?
New skin has grown over the pigment and temporarily hides it. The color returns over the following week. This is the most asked question about microblading aftercare and almost always resolves itself.
How long until I see the final result?
4 to 6 weeks until the brows are fully healed, and the true final result after the touch-up at 6 to 8 weeks. Judge nothing before week four. Brows change enough between day seven and week four that an early opinion is almost always wrong.
Can I swim during healing?
Not for the first two weeks. Chlorine and salt water pull at healing pigment, and pools carry an infection risk on broken skin. This is the restriction people find hardest in Florida, and the one worth taking seriously.
Follow your aftercare instructions carefully, and call if unsure
Normal healing needs nothing from you. The timeline above is the whole answer, and any concern is worth a call rather than waiting it out.
A consultation covers what the two weeks look like for your skin, and how long does permanent makeup last covers what happens after healing finishes.